


There comes a time when every modeler realizes that model homes look too shiny and especially too plastic. In hindsight, it would have been wise to address this when the homes were built. That’s not a problem, in this tutorial we explain how to fix this with simple techniques afterwards.
Plastic construction sets since 1950
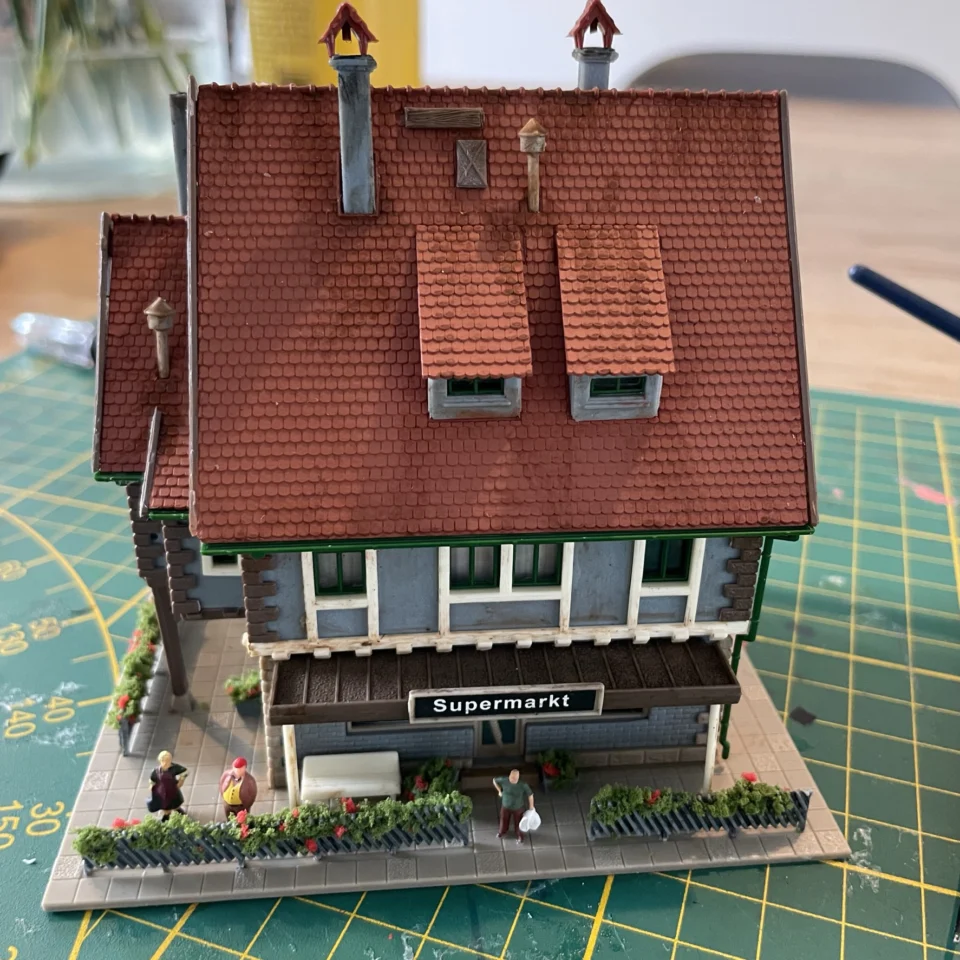
Companies such as Vollmer, now acquired by Viessmann, have been making the well-known construction sets since the 1950s. Pressing plastic into molds creates the shapes needed to build a home, factory or anything else. This plastic gives the buildings a certain sheen.
Because it is efficient to make as many shapes as possible at once, the variation in color is often limited. This often makes the buildings monotonous. The door of the house is made of the same brown as the roof. That is does not look very realistic and gives the houses a high “toy” content.
vooraf verweren is beter; achteraf kan ook
Weathering in advance is definitely easier. Yet it can be done in retrospect. And there is another advantage of retrospectively “aging” the homes; the inevitable stains from the glue can be eliminated. Not indefinitely, neat work remains important.
The approach is to add accents on the home that will ensure that the plastic look is drastically reduced and give certain parts a natural color;
- ‘Coloring’ and aging the roof;
- Iron, such as a gate or fence, give elements a “metal look.
- Painting woodwork in the right color;
- Lightly soiling large areas
- Weathered edge at bottom due to splashing dirt;
required (simple) materials
That you need a set of brushes is more than logical. A set of brushes with the definitely smallest size “2” is ideal. They can often be purchased at a hobby store. For just under 10 euros, the set is already in your possession. For the paint, we recommend investing in good brand, for example Vallejo.
This manufacturer offers a wide range of colors. These can be purchased combined as a set; so you can be sure you have the right colors to apply rust or make wood accents, for example. The kits come with step-by-step manuals. The amount of paint you need for one building is usually no more than a few – undiluted – drops.
As a minimum set we recommend: Vallejo paint set for “wood and leather” (770182). With this set, wooden objects near a house can be realistically rendered. Vallejo 70150 rust and steel (8 colors and powder) is ideal for painting metal objects possibly with rust. Instead of this set, 770183 is also an option, however, with this you cannot create metal effects.
Finally, buy painters tape. No DIY quality, these often do not adhere well and allow paint to get under the tape. Choose a quality brand like 3M and buy Scotch masking tape blue (2090) for about 6 euros.
The technique
The technique is relatively simple. The very idea is not to apply the right color all at once. You do this in layers. This creates depth. Also, make sure the paint is not applied opaquely. Previously applied layers, on the contrary, should remain partially visible.
You do this by, above all, not using too much paint. In scale N, one drop is often too much. Once you have dipped the brush into the paint (and that’s already too much) then brush over kitchen paper a few times.
With a clean and especially dry brush, you can always get rid of excess paint. A cloth to wipe away or just smear something also does good business. And what about your own fingers – as long as they are not greasy.
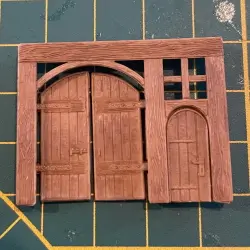
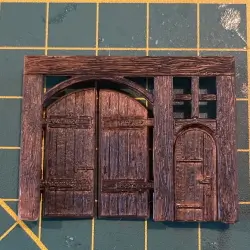
Below you can see step by step how to give a plastic – wooden – gate an authentic look.
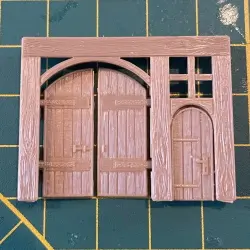
The original “wooden” gate. The manufacturer Vollmer has already applied the grain when manufacturing the plastic. It is important that these not fill up with paint.
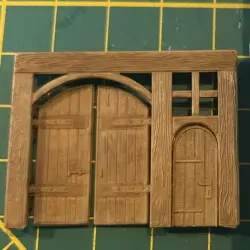
The first layer is lightly applied. In this example, Vallejo paint is used. In this case, color “Flat Earth 70,983” was applied. This is the base color.
Let dry thoroughly. That goes really fast and apply a little “Smoke 70,939.” The first accents appear. Too much applied? Just rub it out with your fingers.
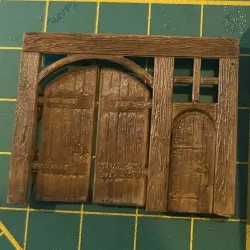
After drying, a mixture of “Smoke 70,939” and “Black 70,950” is applied. Both 50% of the total, so 1 drop each. Mix well.
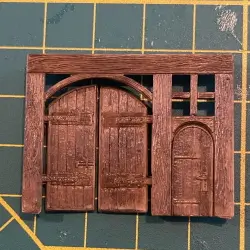
Since the gate is now in danger of becoming too dark, it is necessary to add some light accents. Use a color such as “Flat Earth 70.983” or “Dark Sand 70.847.” All to your own taste.
In our example, we want to achieve a dark old gate and it is given one more dark “wash”. For example, this can be done again with “Smoke 70,939”
set out
Once you have everything you need and have selected the model you want to age, you can get started. How to do that you will read in the second part (to be published January 2023).
This article is also available in:
![]() Nederlands
Nederlands