


Let’s be honest with each other. The walls of a tunnel on a model railroad often receive little attention. The train disappears into the dark and no one sees it. You might place another wall from a well-known supplier and it will end there. Modeltex now markets ready-made and highly detailed walls. Does this indeed lead to the desired results quickly?
More than 25 years old.
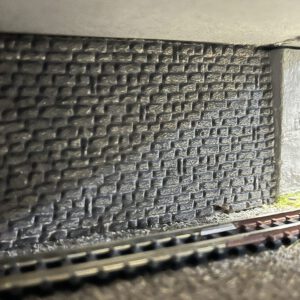
We take the test at one of the three tunnel entrances on our own layout. After removing the exterior, we are shocked at the work we have left here. A thin “stone” wall of foam, the rails not weathered and without ballast. That’s what you get when you’ve been working on the same model railroad for more than 25 years.
Time for action. We provide the rails with a rusty appearance. And the existing wall has been taken out.Time to prepare the tunnel wall from Modeltex. We chose a version with “concrete look. The printing looks fantastic. Rich in detail, just like the brick version.
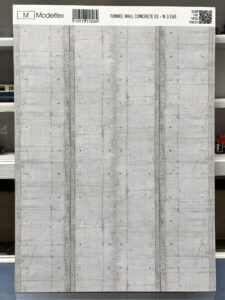
The plate is also well suited to the curve where we want to place this wall. We cut the plate to size with a knife and also make a ceiling with it immediately. It will be quite possible to bend the tunnel wall halfway around; not an option on our layout.
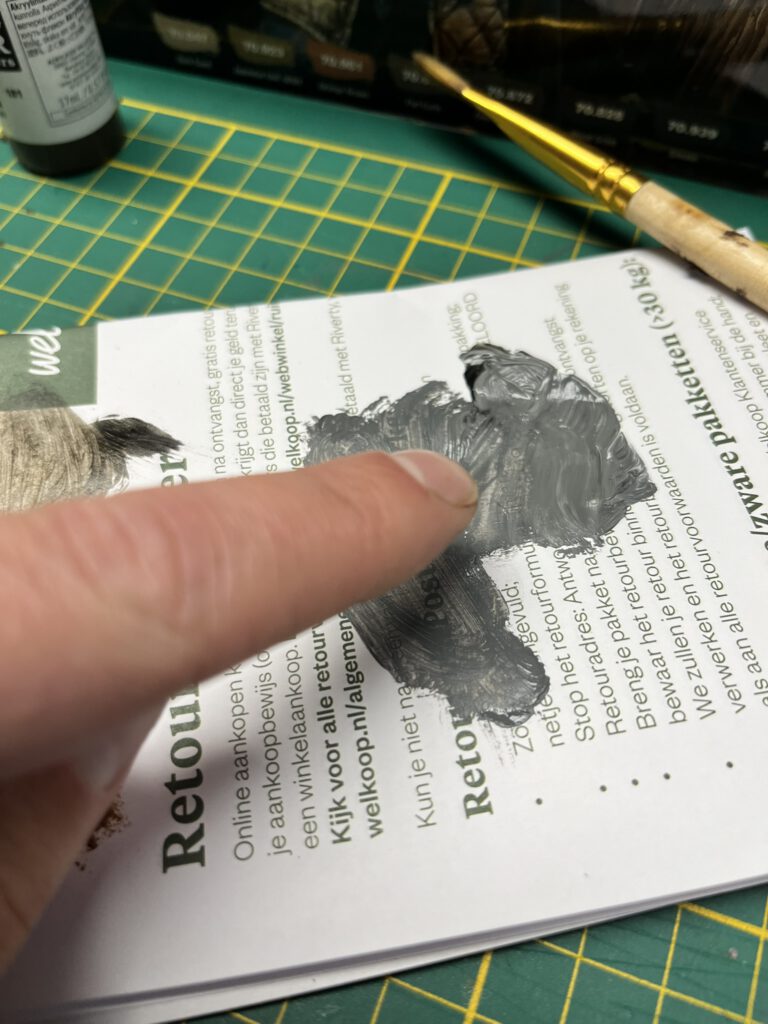
What is also not an option is to install the wall without any weathering. For that, this one is too smooth and has just a bit too much of a photo sheen. We rummage in our hobby chest and find standard Talens brand acrylic paint there. From this, after some mixing, we make a gray color. We apply these with a finger.
The effect of this is fantastic. The surface remains visible, but the matte acrylic paint takes the shine off. We forgo a paint niche layer because the wall disappears into the tunnel anyway.
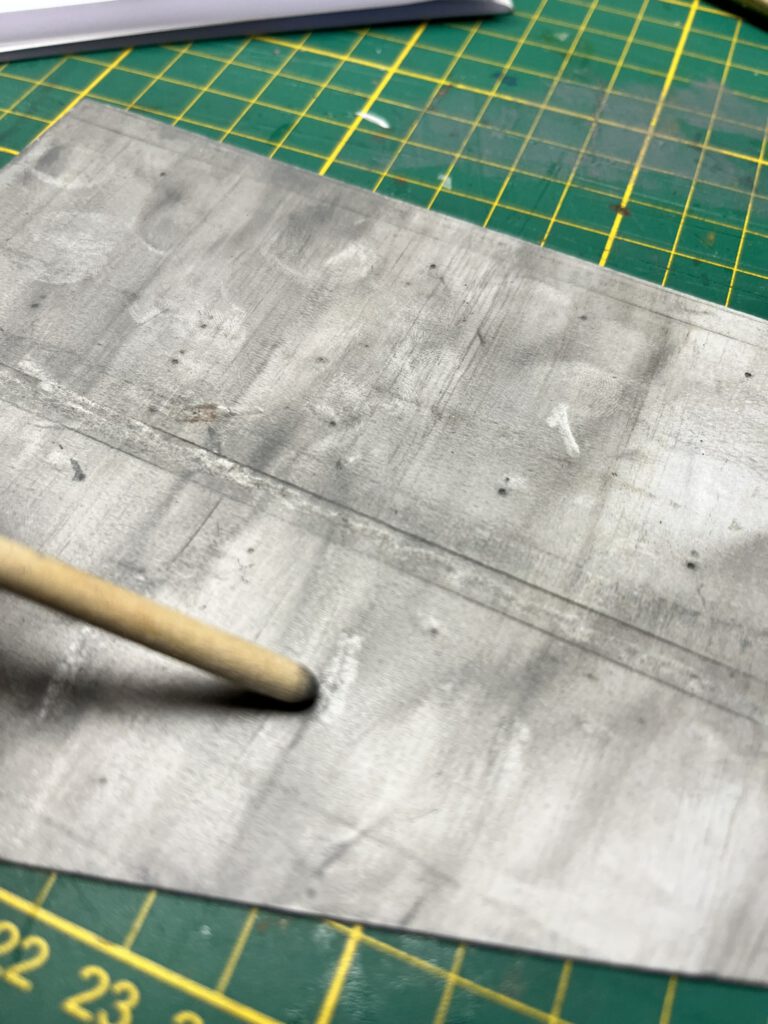
Now to apply some unevenness to the wall. This is what Modeltex itself recommends. Otherwise, the look remains very clinical. With the back of a small brush, carefully and randomly draw some lines. This also results in a great effect.
Finally, we apply the wall and the rail ballast is also completely bedded in. This took the tunnel wall from extremely rudimentary to full-scale in a short afternoon. And that for just under 13 euros. Highly recommended.
- www.modeltex.be
- Modeltex tunnel wall; concrete
- 12.99 Euro
This article is also available in:
![]() Nederlands
Nederlands