


Want to capture your rolling stock in a beautiful way and learn a lot about landscaping? You can do that with a photo dike, also called a “photo box. A short piece of track, with scenery and background. This way you capture everything in a beautiful way and quickly build to a satisfactory result. Together with Matthias Korte of Modellbahn Tricks, we explain it step by step.
Not reading, but watching directly? See this video from Modellbahn Tricks
The basics
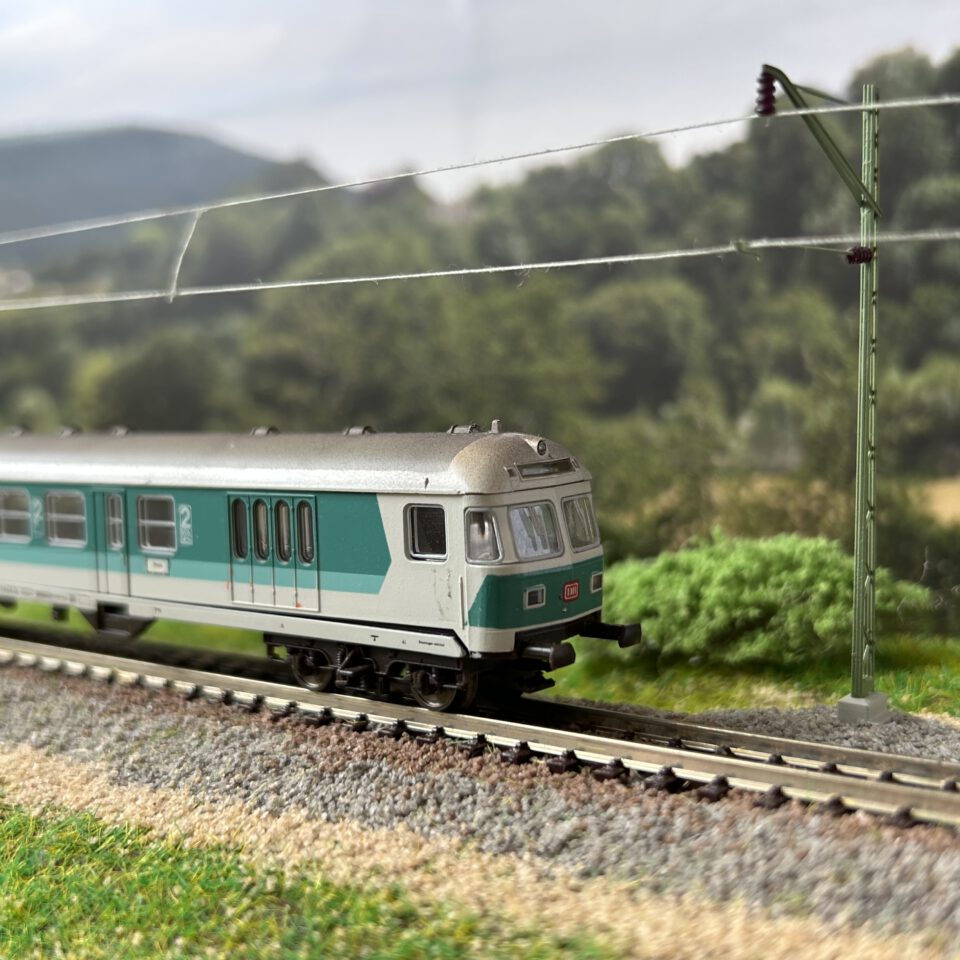
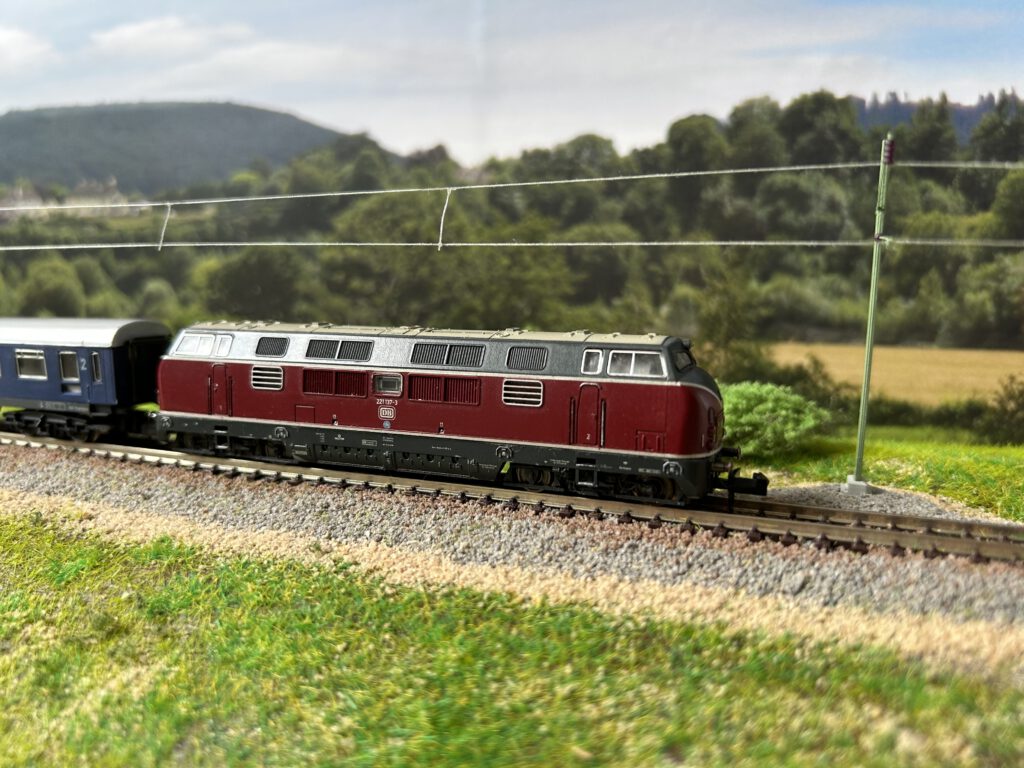
As a base we take some (leftover) pieces of wood. With which a board is formed. On one of the long sides mount a beam (5×5 cm). The back wall will later be screwed onto this beam. This wall will feature a photograph to create a perspective. In this case, we use a piece from Gaugemaster’s background “Pretty British Town” (GM758).
On the sides, the “photo box” is also neatly finished with shelves on both sides.
The interior
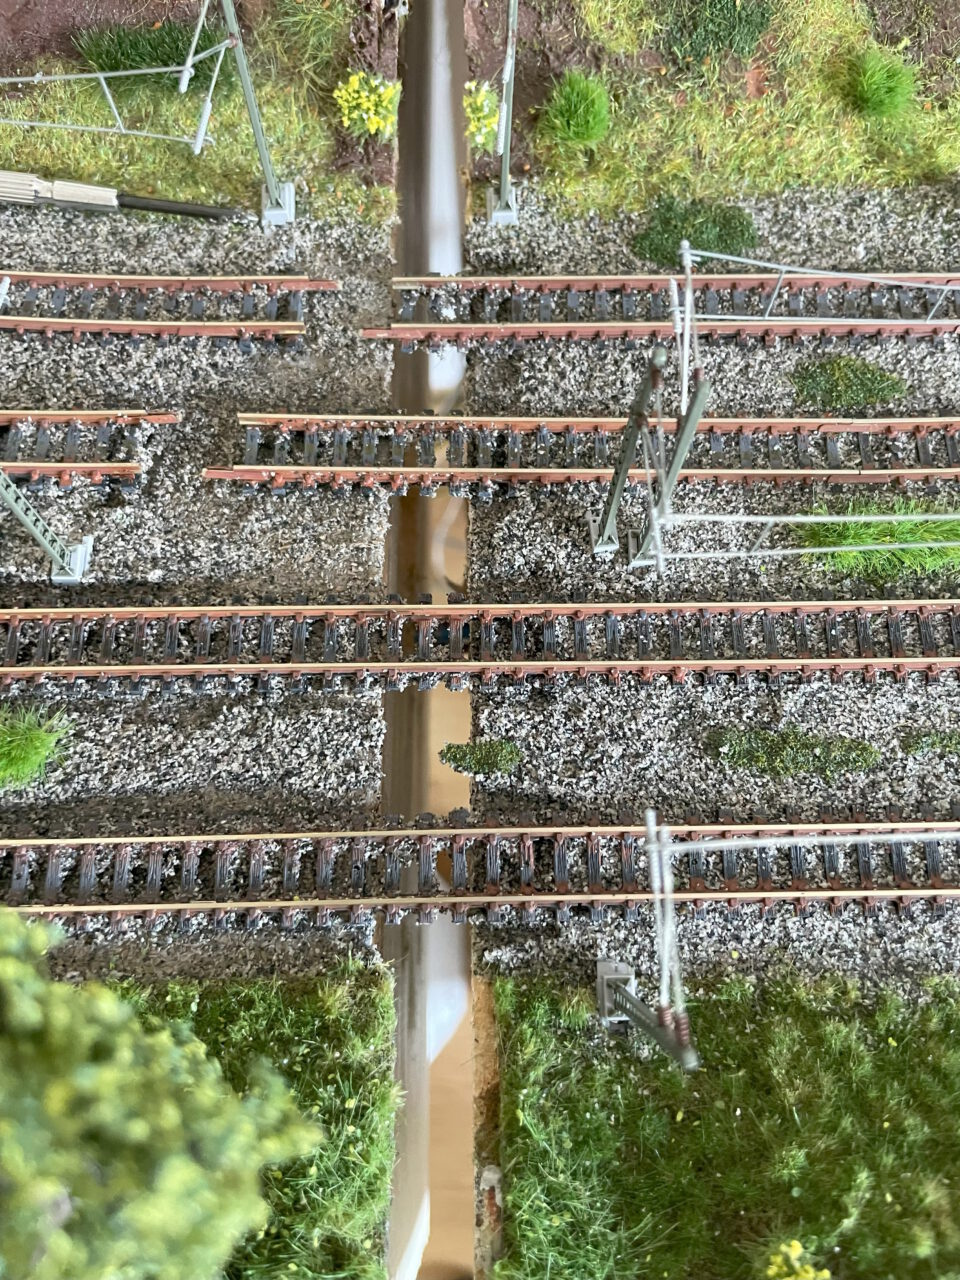
The inner workings are relatively simple. Most of it consists of a flat landscape. At the front, there is a height difference of about 3 cm. Below that there is another long flat strip. This creates height difference and creates the illusion of a railroad embankment. A fairly flat landscape will do, after all, you don’t want a mountain (peaks) in front of the lens of your camera.
The quality with which you finish the basics of the landscape is different for everyone. Some use plaster, others a base of paper and (wood) glue, and so there are several techniques. A small project like this gives the opportunity to experiment with this.
The trail
Lay the track as you’re used to, such as on cork. So that it is at least just slightly higher than the rest of the landscape. And the most important tip of all is that the track does not run straight, but rather diagonally across the embankment, This gives extra depth.
If you want your models to have the lights on when taking the picture – well, that’s realistic – make a connection for your (digital) power supply as well.
The dressing
Here it comes down to taste and technique. In any case, work in layers. Start with a base color, such as brown. And then build up in layers, for example, a grassy area. Vary with (green) colors. Pictures of big business can be inspiring here.
Of course, the rails are given a rust color. Nowhere in the world do trains run on shiny rails with black (Minitrix) sleepers.
Trees are certainly not forbidden. Rather, you place these between the track and the background. This way you create even more depth. Pay close attention to the proportions.
The catenary
If you are photographing exclusively diesel rolling stock, then overhead wires are not immediately necessary. Conversely, a beautiful BR103 without overhead wires looks displaced. Ready-made masts from Viessmann offer the solution. This manufacturer also supplies the appropriate catenary to complete the picture.
Modellbahn Tricks shows how to use very fine rope to achieve very realistic representation of overhead wires as well.
Watch the video at Modellbahn Tricks.
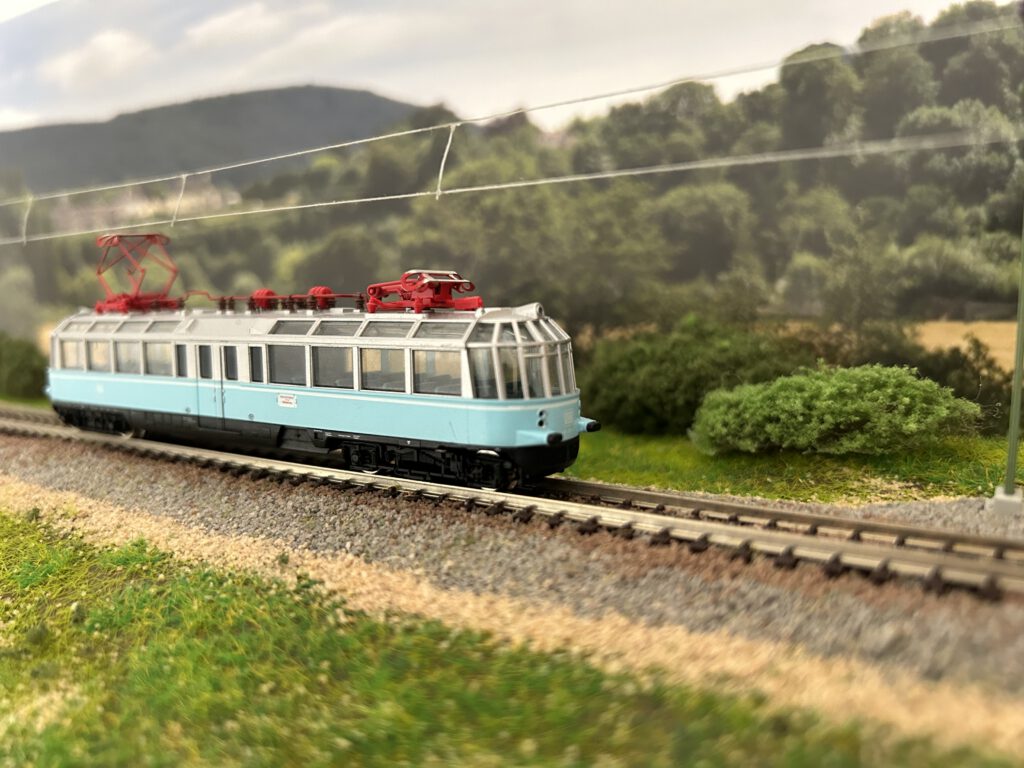
As shown below, the results are stunning.
This article is also available in:
![]() Nederlands
Nederlands